


// HACHIMAN PC
PC Quick Start Guide
Need to configure your system? Download the Web Setting Guide (PDF) for step-by-step setup instructions.
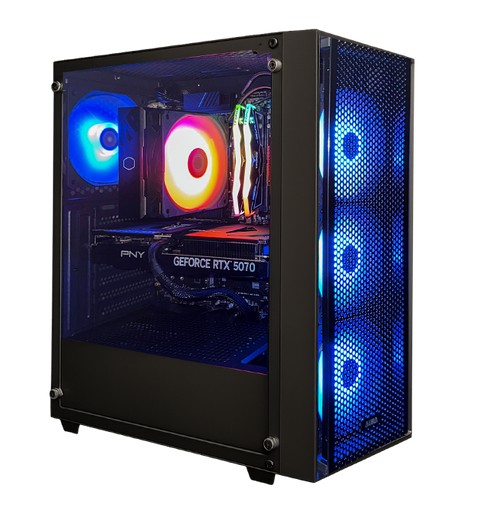
01 // Inside Your Gaming PC

This image shown is for reference only. The actual look of your system may differ.

Certain components such as the case, CPU cooler, or SSD may not match the sample shown, but serve the same purpose.
02 // Unboxing Your Hachiman Gaming PC
Keep all packaging materials for warranty and shipping purposes. Carefully check that all standard items are included.
PC Tower
Houses all of your system's hardware.
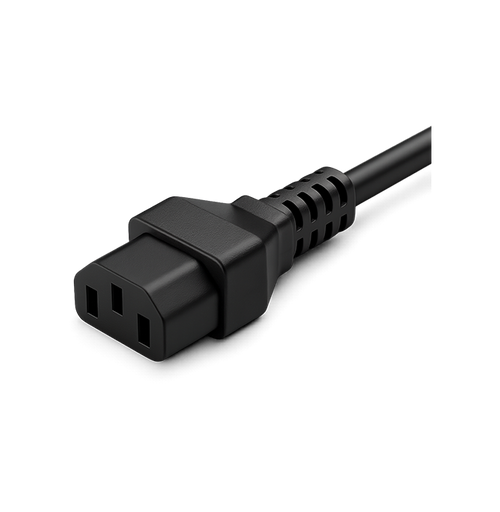
Power Cord
Connects your PC to the power supply. May be stored inside the case during shipping.
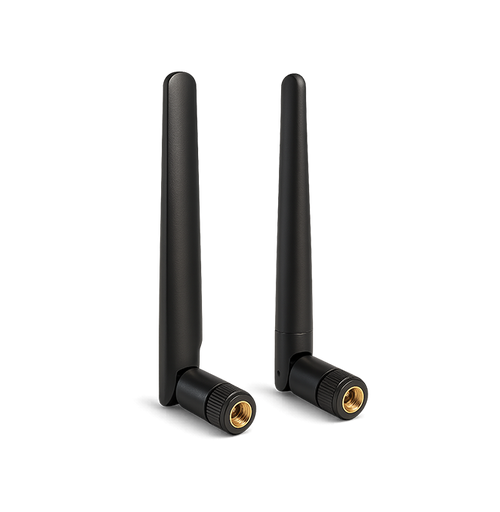
Additional Accessories
May include Wi-Fi antennas to attach to gold connectors at the rear of your PC.
Visually inspect your system for any shipping damage before setup. Contact support immediately if any issues are found.
03 // Preparing Your Workspace

PC Placement
Position in a well-ventilated area to prevent overheating. Keep drinks and liquids away from your system.

Cable Management
Keep cables neat and secure to avoid damage. Use a trusted surge protector for power surge protection.

Airflow
Good airflow keeps your PC cool and running smoothly, directly improving performance and hardware lifespan.
04 // Setting Up Your Gaming Desktop PC

Remove Internal Packaging
Remove the screws from the left side panel and carefully detach the panel. Remove all internal packaging to prevent airflow blockages.

Check Internal Connections
Verify all internal cables and hardware connections are secure. Confirm each plug is fully seated and ensure nothing came loose during shipping.

Connect Power and Peripherals
Connect your monitor to the graphics card HDMI or DisplayPort — not the motherboard ports.
Connect peripherals: mouse, keyboard, audio, and Ethernet to the correct I/O ports.
Screw Wi-Fi antennas (if included) to the gold connectors on the rear I/O panel.
Plug the power cord into the PSU and a wall outlet. Flip the switch to I and press the case power button.
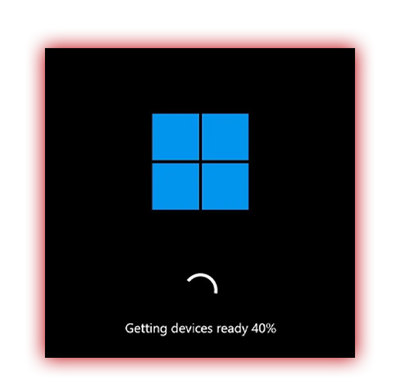
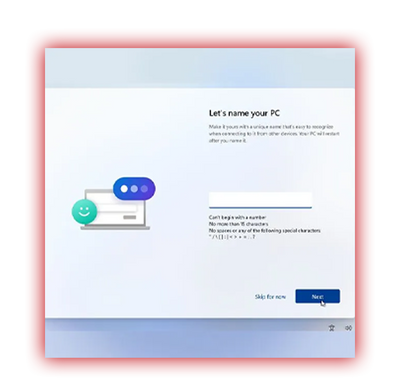
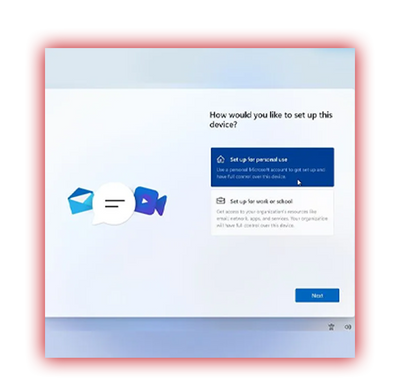
05 // Initial Boot and Setup
Windows will guide you through the setup process on first power-on. Follow the on-screen instructions to configure your system, create user accounts, and connect to the internet.

You're All Set!
You've completed the setup of your new Hachiman system — welcome to a world built for power, precision, and performance.